How To Use: iPAD SP1 Fully-Automatic Defibrillator
When someone collapses and isn’t breathing, time is critical. The iPAD SP1 Automated External Defibrillator (AED) is designed to help you act fast, even if you’re not medically trained.
Here’s how to get it ready, use it correctly, and keep it in good working order.
Getting Set Up

Feel free to download and share this graphic!
Start by taking the iPAD SP1 AED out of the box. Check that the electrode pad lead is already connected to the front of the device and that the pads themselves are tucked into the storage compartment on the back.
Next, insert the battery pack into the side of the AED, following the arrow on the label. Push until it clicks. The unit will run through a set of self-tests. Just follow the prompts and press the flashing buttons when asked. Once finished, the device will shut itself off.
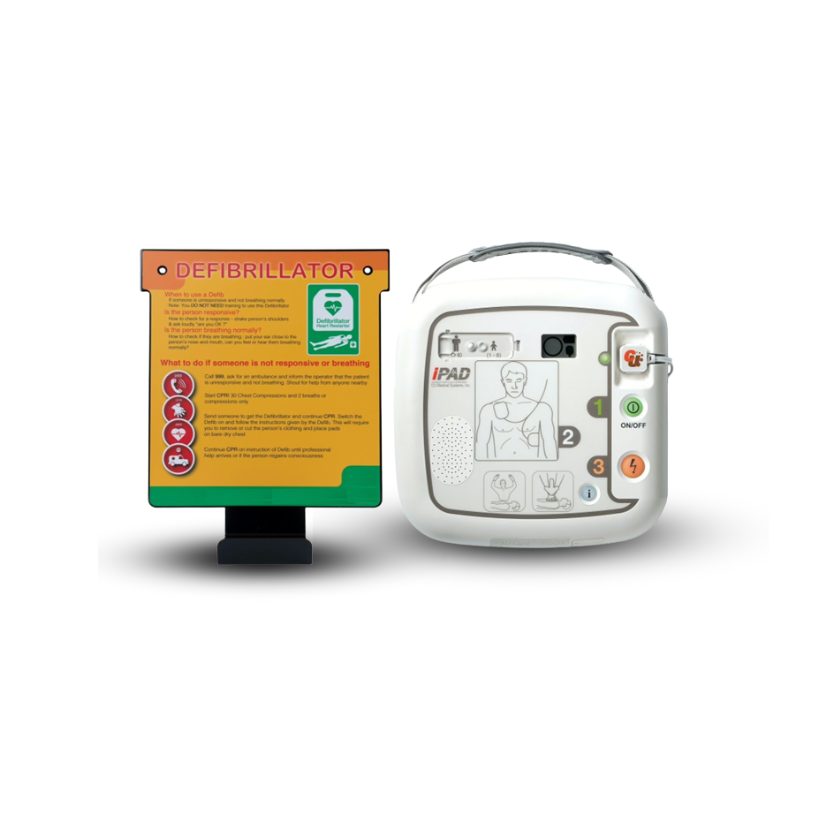
Now look through the small window on the front. You should see:
A circular status indicator
A full battery symbol
A full pads symbol
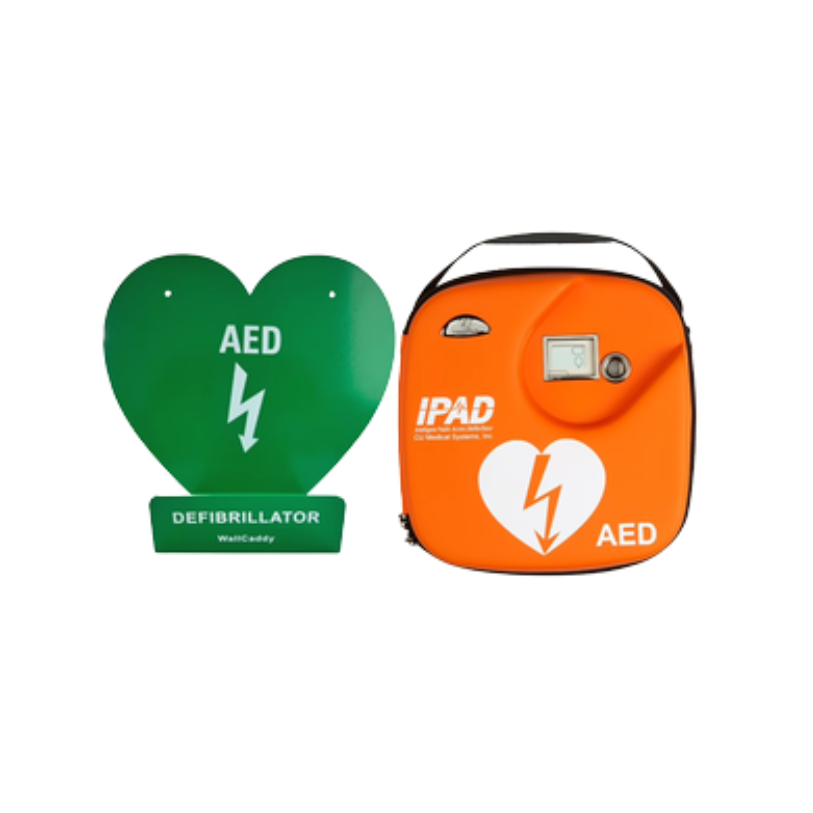
If all three are showing, the AED is ready to go. Put it into the orange carry case and gently thread the pad pull-tab through the slot so it’s visible.
Using the AED
In an emergency, here’s what to do.
Turn it on. Press the green ON button. A green light next to the pad connector will tell you if the pads are properly connected. If it’s flashing, double-check the connection. If it’s solid, all is good.
Follow the instructions. The AED will speak to you and show visual prompts. It will tell you when and where to place the pads. Don’t worry if you move faster than the voice, it will catch up.
Stand clear. If a shock is needed, the AED will tell you to step back. It will charge and then instruct you to press the flashing orange shock button.
Start CPR. The device will guide you to begin chest compressions. If you press the flashing blue ‘i’ button, it will give timed instructions including a metronome and reminders to breathe for the patient. If you don’t press it, it will still tell you when it’s time to reanalyse the patient’s heart rhythm.
If the AED says "No shock advised," start CPR immediately. You can’t accidentally shock someone who doesn’t need it.
Keep going until the person wakes up or the AED tells you to stop so it can check again (this usually happens every two minutes).
Key Features
Child Mode: If the casualty is a child, just lift the cover and slide the switch on the front to change the setting. No need to swap pads.
Noise Detection: It adjusts its volume automatically depending on background noise. Handy for noisy places.
Data Recording: The device logs up to three hours of data per incident and stores the last five. You can access this using the SD card or an infrared link, with free software available from the iPAD website.
Event Summary: To check how long CPR has been going or how many shocks were given, turn off the AED, hold the blue ‘i’ button for over a second, and it will tell you.
Regular Checks
Even though it performs daily, weekly, and monthly self-tests, a quick visual check is still essential.
Look through the status window:
Status Indicator: A circle means all is fine. A cross means there’s a fault. If you see a flashing red ‘i’ button, press it for details.
Battery Indicator: If it drops to one bar, order a new battery. If it hits zero, replace it straight away.
Pads Indicator: Full means the pads are in date. Half means they’ll expire within 3 months, so order more. Empty means they’re out of date and need replacing now.
Final Word
This guide doesn’t replace proper hands-on training, but it should help you feel more confident using the iPAD SP1 AED. If you need more help, or want to see the video version of this walkthrough, head to www.ipad-ed.com.
Stay prepared. It might just save a life.